Welcome back to part of drawing Stitch make sure to go back to part 1 on my page if you haven’t seen it yet 🙂
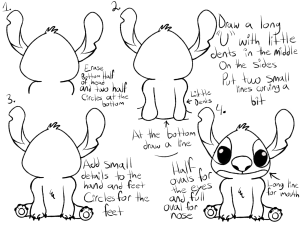
Step 1 : Picking up where we left off erase the bottom half of the face and create two half circles at the bottom ( See picture above )
Step 2 : Draw a long “ U ” with little dents in the middle on the sides. At the bottom draw a line ( See picture ) Put two small line curving a bit from both side of the arms ( This will be the legs )
Step 3 : Add small details to the hand and feet
For the claws on the hands i added small triangles and for the feet i added circles on both sides then small circles at the very top of the circles. I also added a small circle on the feet in the middle.
By the way i added three little lumps in the center of the chest.
Step 4 : Doing the details of the face
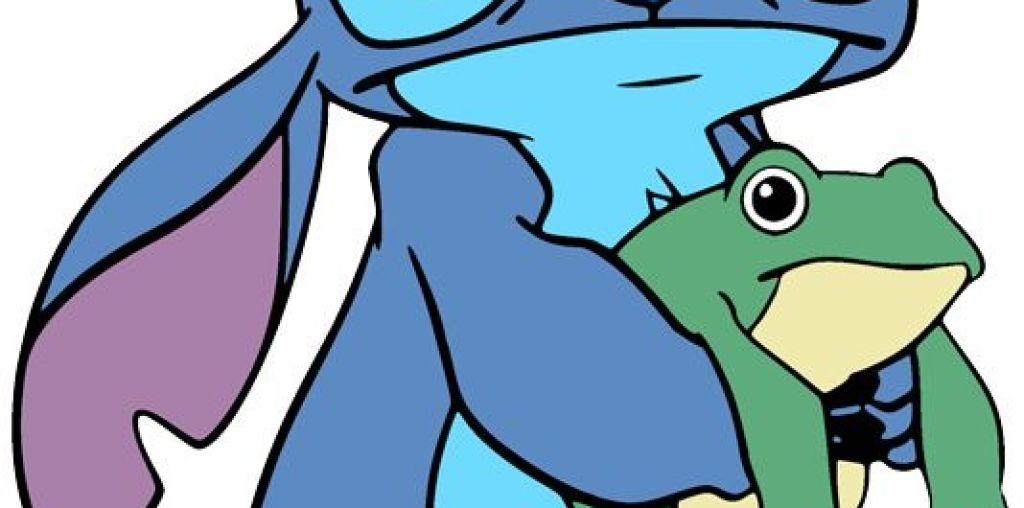
For the eye’s i drew two half large ovals facing the opposite way of each other . On the inside of the half ovals i colored in circles ( This will be his pupils) add a small white dot on the pupils for highlights 😀 ( See Picture )
For the nose draw a rounded oval with a small line on the bottom of it ( See picture above ) In the rounded oval put two dark circles.
For the mouth draw a long line going across the face
Note : you can make this line curve a bit for a smiling expression on down line for a frowning expression
Keep looking at the illustration above for a better understand of the steps ;D
Thanks for doing this tutorial with me 😆