Welcome back to another tutorial !!! By following these step-by-step instructions, you will learn how to add depth, dimension, and realism to your nose drawings. So, let’s dive in and have some fun! ( Scroll all the way down for the digitally version but Traditional version could also be helpful )
Materials Needed For Traditional Art :
1. Drawing paper or sketchbook
2. Pencil (preferably HB or 2B)
3. Eraser
4. Set of colored pencils or markers (preferably a range of skin tones)
5. Blending tool (optional, such as a blending stump or cotton swab)
6. Reference image of a nose (you can find one online or use a photograph)
Step 1: Sketch the Nose Outline
– Start by lightly sketching the basic shape of the nose using your pencil. Observe the reference image and pay attention to the proportions and angles.
– Begin with a simple triangle shape for the bridge of the nose and add curves for the nostrils.
– Remember to keep the lines light and easily erasable.
Step 2: Add Shading to Create Depth
– Start shading the areas of the nose that are in shadow using your pencil. Refer to the reference image to identify these areas.
– Use light, circular motions to gradually build up the shading. Begin with a light touch and gradually increase the pressure as needed.
– Pay attention to the contours of the nose, such as the bridge, sides, and tip, and shade accordingly to create a three-dimensional effect.
Step 3: Layering Colors for Realism
– Select a light skin tone colored pencil or marker and gently layer it over the shaded areas of the nose. Use light pressure and build up the color gradually.
– To create a more realistic look, choose a slightly darker skin tone and layer it over the areas that require more depth, such as the shadows and creases.
– Use a light touch and blend the colors smoothly. If desired, you can use a blending tool to further soften and blend the colors.
Step 4: Highlighting and Adding Details
– Use an eraser to gently lift off some of the colored pencil or marker in areas where light hits the nose, such as the bridge and tip. This will create highlights and add dimension.
– Add subtle details such as small lines for wrinkles, pores, or freckles, using a fine-tipped colored pencil or marker. Be careful not to overdo it; less is often more when it comes to details.
Step 5: Refine and Evaluate
– Step back and evaluate your work. Compare it to the reference image and make any necessary adjustments.
– Use your pencil to refine the shading, add more depth, or make any necessary corrections.
– Take your time during this step, as it is crucial for achieving a realistic and polished result.
Step 6: Final Touches and Finishing
– Once you are satisfied with your colored nose, carefully erase any remaining pencil lines and smudges.
– Sign your artwork and consider adding a background or additional elements to complete the composition.
– Congratulations! You have successfully colored a nose!
How To Color A Nose Digitally :
Step 1 : Draw out a basic sketch of a nose then establish the nose shape and a clean outline.
Step 2 : Lay down basic skin colors and highlights on a new layer from the sketch layer. ( Note you can use the basic colors to refine shadows and shapes. Most highlights on the nose involve the tip and the bridge depending on where the light is coming from) ( Darker skin tones of the nose can be found on the side of the bridge and the bottom of the nose where the nostrils are)
Blending tip !!!!
Don’t try to blend, just by color picking. For example in makeup there’s always a transition of color when blending eye shadow, it’s like a in between mixture of color.
Step 3 : Using a soft blend brush, blend the shadows ( Note the bottom gets stronger shadowing) After blending you can go back in and refine the highlights with delicate light on the tip and the area where the forehead starts. Sharp light behind the wings of the nostrils will help distinct it better from the face and also refining the tip and bridge a bit too.
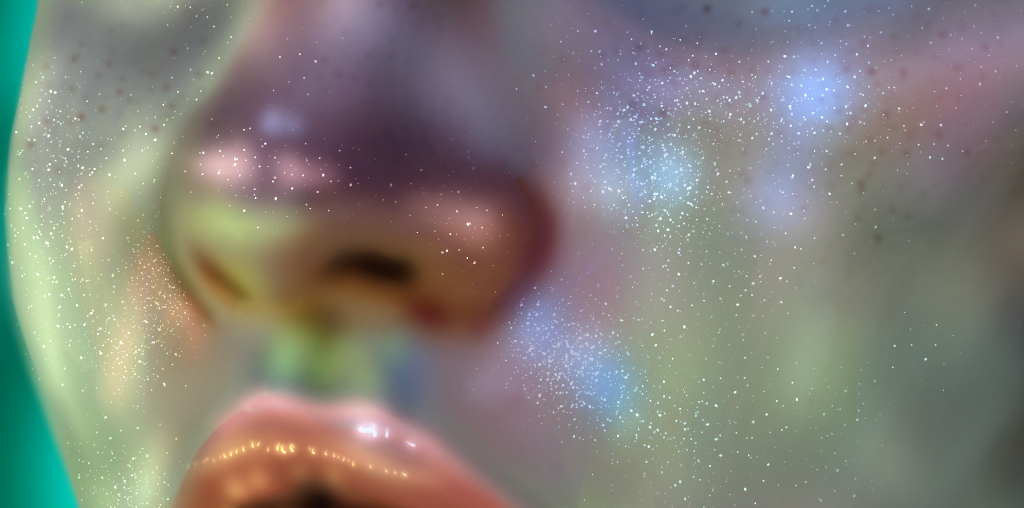
Step 4 : Believe it or not nose’s can have expression’s or emotion to them ! Many noses can have a hint of a reddish tone when someone is sick, exposed to cold or just blushing. Blood veins in the nose and cheeks passes through that area so it brings off a reddish or pinkish color. The groove of the nostril is redder because the skin is thinner. Oil usually collects where the tip, edge of the nostril groove, and bridge of the nose is so the highlights appear more there, giving a shiny bright look. The tip of the nose begins from dark to light and the center is where there is light.
Tips:
1. Practice shading techniques on a separate sheet of paper before starting the project.
2. Use light pressure when sketching and layering colors to avoid damaging the paper.
3. Take breaks and step away from your artwork periodically to maintain a fresh perspective.
4. Experiment with different skin tones and shading techniques to find your preferred style.
5. Don’t be afraid to make mistakes; they are an essential part of the learning process.
Remember, the key to mastering any creative project is practice and patience. With each attempt, you will improve your skills and develop your unique artistic style. Enjoy the process and have fun exploring your creativity!
See you next tutorial ! 😀 Be sure to check out my other tutorials too such as how to do skin tones and how to draw an eye !