Welcome back to another tutorial my friend 😁 !!!
Today were going to learn how to color an ear digitally and traditionally 👂
First let’s get our supplies !
Digitally Materials Needed :
1. Adobe, Procreate, Ibis (or any digital art software)
2. A digital tablet or mouse
3. An image of an ear (or you can sketch your own)
Traditional Materials Needed :
1. Sketch pad or drawing paper
2. Pencil for the initial sketch
3. An eraser
4. Colored pencils (a range of skin tones, browns, pinks, and whites)
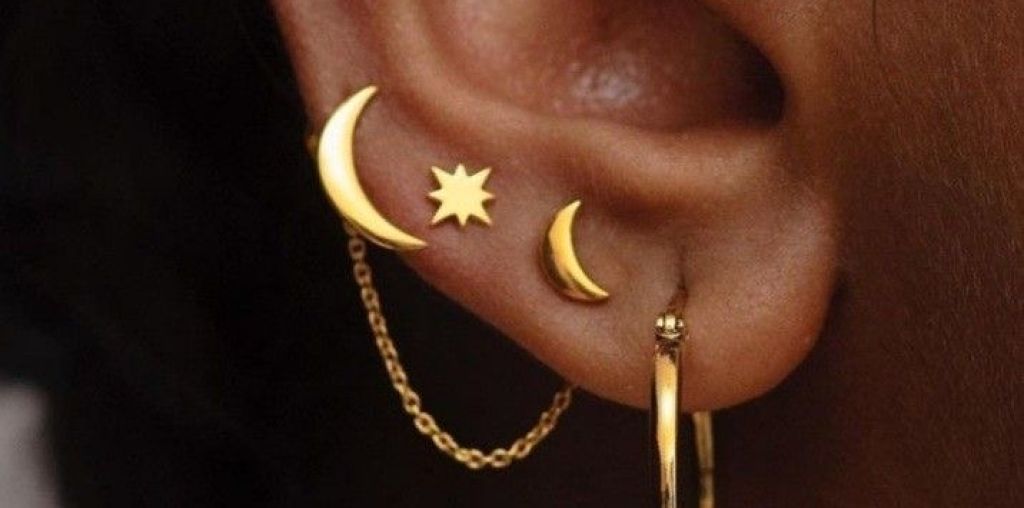
5. Picture of an ear (for reference)
How to Draw An Ear Digital :
Step 1 : Gather your ear reference and make a basic sketch of an ear. ( Nothing to fancy, remember it doesn’t have to always be perfect, ears are shaped different ways and sizes, also if your having trouble sketching an ear go check out my other tutorial on How To Draw An Ear !)
Step 2 :After you sketched an ear, select your basic skin color and fill the ear with it.( Remember to keep your base color layer separate from your sketch layer.) ( I also have a tutorial on Skin Tones too be sure to check it out 😀 )
Step 3 : Create another layer for the shadows. Pick a darker color than your base, and with a soft brush, start painting the areas where shadows are supposed to be (usually the inner part of the ear and under the earlobe). Create another layer for the highlights. Pick a lighter color than your base, and paint the areas where light hits the ear (usually the top and front parts of the ear).
Step 4 : Select the Smudge Tool. Start blending the base color, shadows, and highlights together. Be gentle with your strokes and follow the shape and form of the ear.
Step 5 : Create a new layer on top for the details. Pick a smaller brush and start adding details like the lines and ridges of the ear. You can use different shades of color to make the details pop.
Step 6 : Review your colored ear and add any final touches as necessary. ( Such as earrings or maybe even more highlights and shadows depending on where the light is) If you’re satisfied with your work, save your masterpiece by clicking File>Save As.
**Tips**
1. Use a soft brush for smoother transitions between colors.
2. Don’t rush the blending process. The more time you spend blending, the more realistic your digital ear will look.
3. Practice makes perfect. The more you practice, the better you’ll get at digital coloring.
How to Color An Ear Traditional Art Version :
Step 1: First, you need to sketch the ear. Using your pencil, draw a basic outline of the ear. It’s not necessary to include all the details at this stage; just focus on the main shape. Use the picture of the ear as your reference. Remember, it’s okay if it’s not perfect, you can always adjust the sketch as you go along.
Step 2 : Once you’re satisfied with your sketch, pick out a flesh-toned color from your colored pencils. Lightly shade the entire ear, ensuring that you stay within the lines of your sketch. This layer of color is just a base and will help create depth later.
Step 3 : Next, identify the areas in the ear that are darker or in the shadow, such as the inner ear and the areas behind any folds. Use a slightly darker shade to gently shade these areas. This will start to give your ear some depth and dimension
Step 4 : Now, let’s bring some light to your ear. Identify the areas that are hit by light or are lighter in color. Use a white or light flesh-toned colored pencil to highlight these areas. This will make your ear look more realistic.
Step 5 : After the highlights, it’s time to pay attention to the details. Look at the textures and lines in the ear. Use a brown or dark flesh-toned pencil to gently draw these lines and add texture. Remember, the key is to make light strokes and gradually build up the layers.
Step 6 : Finally, to wrap up your project, blend the colors using a blending stump or your fingers. Smudge the colors gently to create a seamless transition between the different tones. This will give your ear a smoother and more natural look.
Bonus Tip: Feel free to experiment with different shades and pressure. The more you practice, the better you’ll get at understanding how different colors and shading techniques can add depth and realism to your artwork.
Congrats you colored an ear !!! With practice and patience, you can create a beautifully colored ear that adds life to your portraits. Remember, the key to successful digital art/ traditional art is understanding how colors work together and how light affects the appearance of an object. Don’t be afraid to experiment with different color schemes and lighting conditions, and most importantly, have fun in your digital art/ traditional art journey! Feel free to comment below your artwork or tag me on instagram @byzartzz !! Stay tuned for the next tutorial ❤️


